


Linocut printing is an incredibly rewarding medium for the classroom—engaging, tactile, and packed with opportunities for creative exploration and skill-building. At BCreativetolearn, we’re passionate about making this traditional printmaking process both accessible and safe for teachers, students, and crafters. Whether you’re a primary teacher introducing printmaking for the first time, an art specialist looking for new classroom activities, or a parent ready for a creative challenge at home, this step-by-step guide is tailor-made for you.
Why Linocut Printing Inspires Young Artists
- Accessible for Beginners: Linocut doesn’t require fancy presses or specialist studios. With the right tools, anyone can create striking, professional-looking artwork right on a classroom table.
- Skill Development: Carving and printing nurture fine motor skills, spatial awareness, and design thinking—vital for learners of all ages.
- Creative Confidence: The process gives students ownership of every step, from initial sketch to pulling their first print, building real creative confidence as they see their own designs come to life.
- Collaborative & Reproducible: Prints can be swapped, assembled into class displays, or used for cards and projects, making it perfect for group creativity.
Prioritising Safety in Linocut Printing
One of the biggest hurdles bringing linocut printing into group settings is safety. With sharp carving tools in young hands, care, preparation, and supervision are crucial.
- Choose Soft, Safe Materials: Opt for modern super soft lino blocks which are far easier and safer to carve than old-fashioned battleship grey linoleum. Our Super Soft Grey Lino Blocks are double-sided and won’t crumble, allowing precise carving with less risk.
- Tool Safety 101: Always demonstrate correct grip—hold the tool firmly with both hands, keeping fingers behind the blade, and always carve away from the body.
- Stable Work Surfaces: Use bench hooks or non-slip mats to prevent blocks from slipping (these can be improvised from classroom materials).
- Adult Supervision: For primary classrooms, set sensible ratios—ideally one adult per table—and never leave students unsupervised with carving tools.
- Personal Protective Equipment: Encourage the use of cut-resistant gloves for extra caution, especially with younger children or first-timers.
Essential Supplies for Classroom Linocut
- Lino blocks: Choose sizes that fit comfortably in children’s hands, like our 150mm x 100mm Super Soft Grey Lino Blocks or our Transparent Super Soft Lino Blocks (which are superb for tracing designs).
- Lino carving tools: Provide sets with a variety of V and U shaped blades for different textures. Always check that blades are sharp and undamaged.
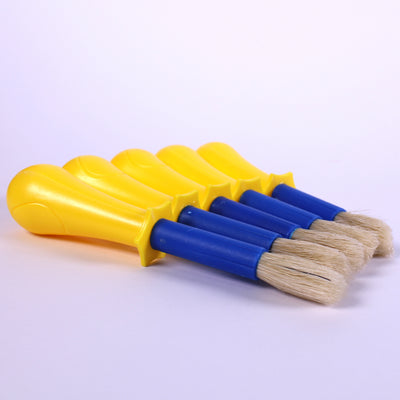
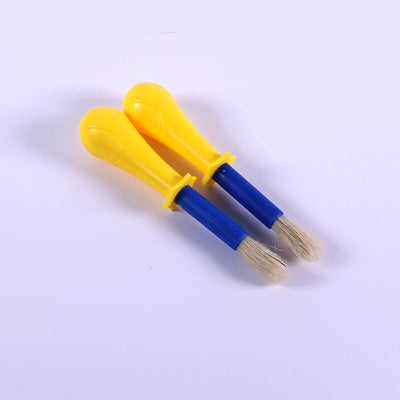
- Brayers (Rollers): Use a hard rubber brayer to evenly apply ink to the block. Our Hard Rubber Lino Rollers 60mm and 100mm versions are robust, making them ideal for group work.
- Inks: Water-based block printing inks are easy to clean and safe for schools. Choose vivid colours to keep students engaged.
- Paper: Use smooth heavyweight cartridge paper or specialist printing paper for best results.
 Super Soft Grey Lino Blocks 150mm x 100mm – perfect for small hands and classroom projects
Step-by-Step: Creative and Safe Linocut Process for Beginners
-
Inspiration and Design
Start by brainstorming simple, bold images—think animals, leaves, symbols, or repeating patterns. Have students sketch first in pencil on paper, making sure designs aren’t too intricate for their skill level. -
Transfer the Design
Place tracing paper over the sketch and copy the final lines with a soft pencil. Flip the tracing onto the lino block and rub gently to transfer the image, or use our transparent blocks to trace designs directly. -
Carving the Block
Demonstrate how to carve away the background leaving the design raised. For beginners, start with larger tools for big areas, then move to smaller blades for details. Remind everyone to always carve away from their body and hands. -
Inking Up
Squeeze out a small amount of water-based block printing ink onto a flat tray. Use a brayer to roll out a smooth, even layer of ink, listening for the satisfying ‘tacky’ sound. Next, roll the ink over the lino surface until evenly coated. -
Printing
Place clean paper on top of the inked lino. Use a clean brayer, spoon, or even fingers (with clean hands!) to press the paper gently but firmly, making sure to cover all areas. Carefully peel back the paper to reveal the first print—one of the most exciting classroom moments! -
Evaluating and Iterating
Encourage students to check their prints for areas that need more inking or carving. Mistakes are part of the process—celebrate learning and let students re-ink and adjust as they develop. -
Extending the Project
Once everyone has pulled a successful print, explore creative extensions: print on coloured paper, layer prints for mixed media, or combine lino prints with collaged elements from our craft paper selection.
Tips for Managing Class Linocut Sessions
- Set up tool stations: Keep all carving tools and brayers in a central location and sign them in/out for accountability.
- Demonstrate often: Model each technique and check every student’s grip and approach before letting them loose on their first lino block.
- Emphasise patience: Good linocut takes time—encourage a mindful, step-by-step approach rather than rushing.
- Share successes: Display students’ work in the classroom, hallway, or on social media (with appropriate permissions) to celebrate diverse creativity.
Beyond Basics: Creative Classroom Ideas
- Collaborative Banners: Assign each pupil a block linked to a theme (“Our School”, “Our City”, “The Seasons”), then combine prints as a group mural.
- Reduce-Reuse-Print: Use leftover test prints as collage material, or try printing on old letterheads and recycled cards for eco-friendly lessons.
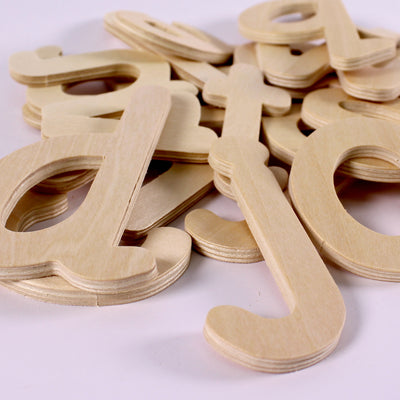
- Stencil & Stamp Hybrid: Pair lino blocks with alphabet stencil packs to help with literacy or numeracy projects.
Recommended Linocut Tools and Materials from BCreativetolearn
- Super Soft Grey Lino Blocks 150mm x 100mm (available in multiple sizes for different age groups)
- Transparent Super Soft Lino Blocks 150mm x 100mm (tracing-friendly for beginners)
- Hard Rubber Lino Rollers 60mm and 100mm (sturdy, classroom-safe)
 Hard Rubber Lino Roller 60mm – for even, controlled ink application
Helpful Hints and Troubleshooting for Beginners
- If the print looks too light, add more ink or press more firmly.
- Accidentally carved out part of the design? Patch it cosmetically with collage, or use the print as a base for further drawing.
- Ink dried too quickly? Use less absorbent paper, or test wetting the paper slightly (but not too much!) before printing.
Wrapping Up: Make Linocut Printing Memorable
Introducing students to linocut is about more than just technique—it’s about empowering them as makers and artists, while prioritising safety and creative confidence. If you’re ready to start your own classroom printmaking adventure, our team at BCreativetolearn has curated the safest, most beginner-friendly and education-minded products for UK classrooms. Explore our art and craft supplies for everything you need to make your first classroom printmaking day safe, successful, and unforgettable.