


Block printing in schools is more than just an art lesson – it’s a doorway to creativity, fine motor skills, and collaborative learning. At BCreativetolearn, we’ve seen countless teachers and educators light up when their pupils pull their very first print. Yet, for beginners and especially young learners, choosing the right material makes all the difference. Should you go with super-safe craft foam, or take your class to the next level with soft lino? Let’s explore both, break down what you’ll need, and offer realistic project ideas with practical tips gleaned from the frontlines of the UK’s schools.
Why Block Printing Works in School Settings
- Hands-on Engagement: Printing gets everyone involved, from sketch to finished print.
- Accessible for All Ages: Adaptable from Early Years through Key Stage 2 and beyond.
- Visual Results: Children experience pride with every finished print—these are projects meant to be displayed.
- Key Skills: Pupils learn design, sequencing, and positive/negative space, making block printing brilliant for cross-curricular topics.
Foam Block Printing: The Safest & Simplest Starting Point
What Is It?
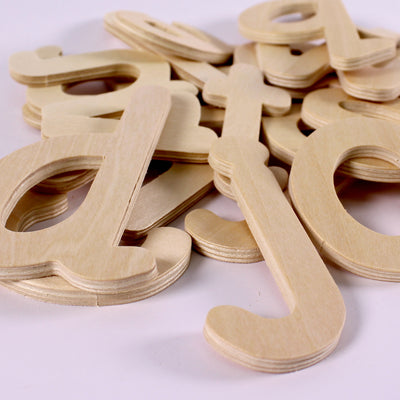
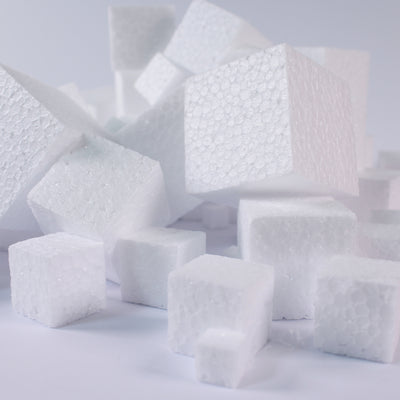
Foam block printing typically uses soft craft foam or dense polystyrene sheets. Instead of sharp carving tools, children emboss designs using pencils or styluses. It’s nearly impossible to injure oneself, so even the youngest artists can join in.
Why We Recommend It for Beginners
- Zero blade risk: All marks are made with blunt tools, so it’s worry-free for group work.
- Speed and convenience: It takes minutes to prep and clean—perfect for art classes with a tight timetable.
- Budget-friendly: Craft foam sheets can often be cut to size, stretching your budget further. Pair with our craft papers and cards for extra creative options.
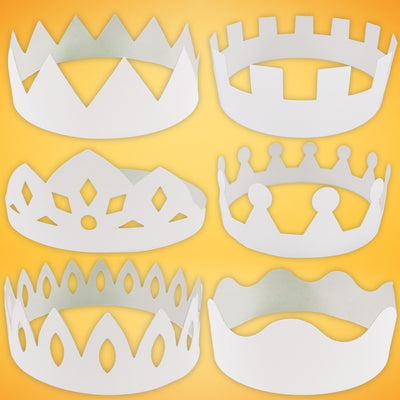
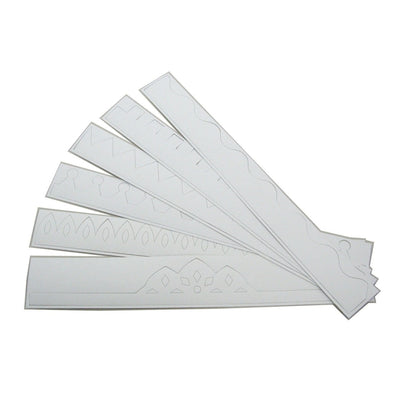
- Flexible formats: Shapes can be pre-cut for printing bunting or cards—see our tips below for more ideas.
Project Example: Nature Pattern Prints
- Pupils sketch leaves, insects, or abstract patterns onto foam sheets with blunt pencils.
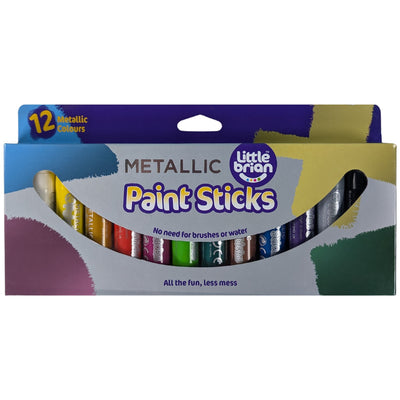
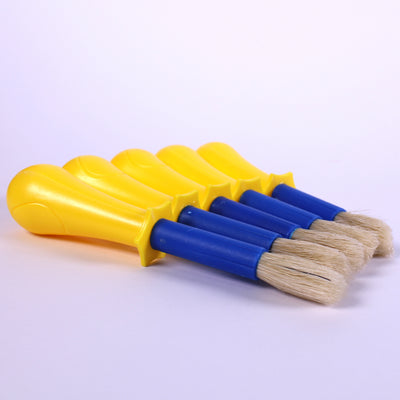
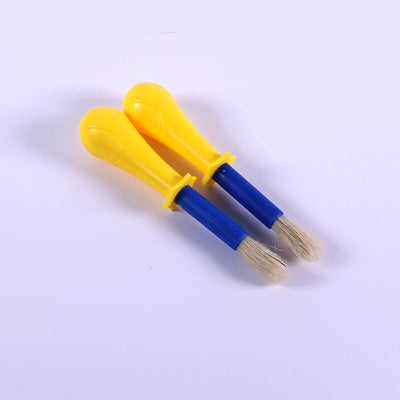
- Roll water-based ink onto the foam. We recommend brayers or ink rollers for an even coat.
- Press onto A4 cartridge paper, white craft card, or even fabric—rub the back firmly with a spoon or hand.
- Peel off to reveal the print; try repeating with different colours or layering for depth.
Tip: Want more eco-friendly ideas? Our blog 5 Eco-Friendly Craft Ideas for Kids Using Recycled Cardstock and Tissue Paper explores sustainable block printing backgrounds.
Soft Lino Printing: For Developing Skills and Lasting Prints
What Makes Soft Lino Unique?
Soft lino is a newer, more forgiving alternative to old-style linoleum. At BCreativetolearn, we favour transparent super-soft lino blocks. These are made from polymer, making them much easier and safer to carve—but still firm enough for crisp prints. Some are double-sided so classes can work from both sides, extending their value.
Comparison: Why Soft Lino?
- Real printmaking skills: Teaches how to use basic carving tools and creates professional results.
- Reusable: Each lino block can produce dozens of high-quality prints, making them suitable for group or whole-school projects.
- Traceable & Transparent: Being able to see through the lino helps transfer drawn images (great for symmetry or text).
- Step-up for older or confident pupils: Perfect for KS2 and upwards, with close supervision and clear safety guidance.
Project Example: School Mascot Prints
- Students sketch their school mascot, a class animal, or a simple logo on cartridge paper.
- Trace design onto the transparent lino blocks.
- Carve carefully using safe lino cutters, always carving away from the hand. We recommend staff demonstrate first and actively supervise this stage.
- Ink up using brayers, then print onto bright white or coloured craft card. Let pupils sign and number their work to mimic printmaker tradition.

The Lino Printing Class Pack is a tried-and-tested choice for group work. It includes safeprint sheets, ink rollers, mixing trays, and bright inks to ensure everyone gets hands-on, not just the first in the queue.
Foam vs Soft Lino: Direct Comparison for Schools
| Feature | Safe Foam | Soft Lino |
|---|---|---|
| Safety | Exceptionally safe, no sharp tools | Requires tools, supervision needed |
| Cost per use | Very low, disposable or single project use | Reusable, higher initial investment, better for multiple sessions |
| Setup/Cleanup Speed | Very quick to set up and tidy | Longer setup, but efficient if well organised |
| Level of Detail | Bold, simple shapes | Allows fine details and textures |
| Recommended Ages | EYFS, KS1, all abilities/SEN safe | KS2+, confident pupils; always with guidance |
Essential Tools & Classroom Setup Checklist
- Ink Rollers (Brayers): For even inking. Choose hard rubber ones for good results (see our painting & drawing supplies).
- Printing Inks: Water-based are safest for young children and school environments.
- Trays/Palettes: Shallow plastic trays or reusable lids hold ink for easy rolling.
- Carving Tools: Use only for lino work, and always demonstrate safe use.
- Craft Papers & Cards: Useful for mounting and displaying prints.
- Spoons or Barens: For pressing prints with consistent pressure—simple kitchen spoons work in most classrooms.
- Aprons/Table Covers: Keep uniforms and tables mess-free.
- Drying Space: Prints need to dry flat. Racks or even a cleared shelf do the trick.
- Paper Towels/Wipes: Quick clean-up is crucial when working with a big group.
Preparation Strategies
- Pre-cut blocks to size so students spend more time creating, not waiting in line.
- Demonstrate techniques upfront—use large mock-ups or a visualizer so everyone can see.
- Remind students to reverse any writing or numbers in their design. (This is a traditional pitfall in block printing!)
- Designate an inking and printing zone to maintain order and safety, especially with multiple students moving about.
- Rotate groups if working with limited rollers or cutters.
Project Ideas for All Ages
- Storybook Illustrations: Print images from a class novel or topic book. Pupils could unify prints for a collaborative display.
- Seasonal Banners: Print repeating shapes or patterns onto bunting flags or strips of craft card for school events.
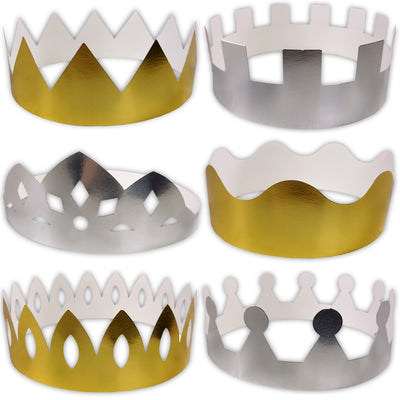
- Custom Greeting Cards: Use foam or lino blocks to make unique cards for Mother’s Day, Christmas, Eid, Diwali, or other occasions.
- Collaborative Panels: Assign different segments of a larger image to each pupil, then assemble into a mural for your corridor or hall.
Want in-depth linocut tips? Dive into our dedicated guide: Linocut Printing 101: Essential Tools, Safety Tips, and Fun Projects for Kids.
Final Thoughts: Our Take on the Foam vs Soft Lino Debate
There is no single right answer—start with safe foam for its speed and accessibility, especially in lower years or for trial lessons. As confidence and skill increase, transition to soft lino for authentic printmaking that rewards patience and process.
Remember, at BCreativetolearn, we’re here to empower art in your class or school. From lino printing class packs for groups to transparent soft lino blocks and craft paper options, our carefully-curated selection is designed for real-life education settings. If you need help planning a lesson or just want the right supplies, don’t hesitate to explore our full range. Happy printing—and let your displays do the talking!