


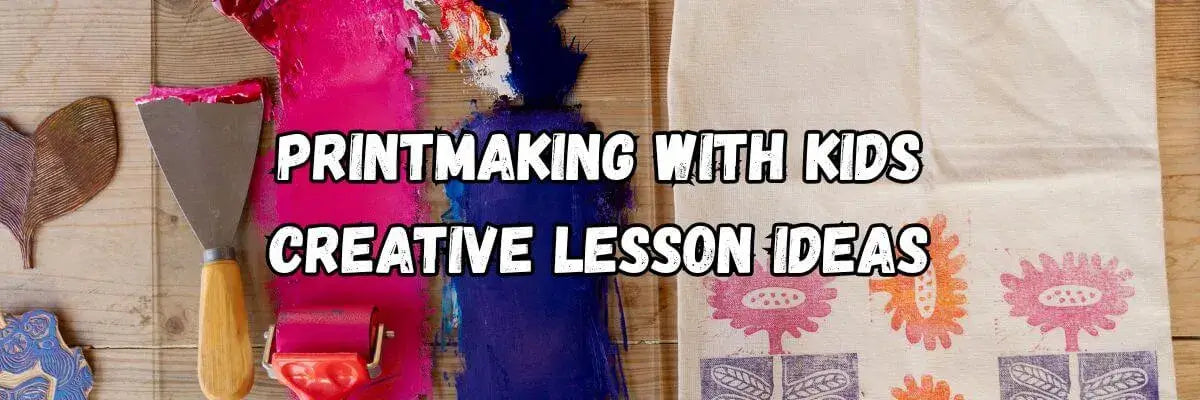
Printmaking with children can transform any classroom or home into a vibrant creative studio, igniting imaginations and building hands-on skills. At BCreativetolearn, we've found that introducing soft lino blocks and rollers opens a world of artistic exploration for both beginners and young enthusiasts. Whether you’re an educator, parent, or art club leader, our carefully chosen printmaking tools make it easy to design lessons that are safe, accessible, and genuinely inspiring.
Why Introduce Printmaking to Children?
- Creative empowerment: Printmaking encourages children to experiment, make bold marks, and appreciate the beauty of repetition and pattern. Each print feels like a magic reveal!
- Skill development: Carving, inking, and pressing require fine motor control, spatial awareness, and patience—ideal for all learners.
- Cross-subject connection: Printmaking bridges art with maths (symmetry, shapes), science (nature patterns), and history (traditional printing roots).
- Satisfying for all ages: With soft lino and gentle rollers, even the youngest crafters can experience the joy of creating their own original artworks.
Key Supplies: Setting Up for Success
- Soft, easy-to-carve lino blocks – perfect for young hands
- Quality rollers for smooth, even inking
- Washable water-based printing inks (for less mess!)
- Sturdy mixing palettes and assorted craft paper or card
- Aprons or old shirts and a “messy” workspace
We offer a number of kid-friendly printmaking essentials that make setup a breeze:
-
Transparent Super Soft Lino Blocks (150mm x 100mm) — Flexible, soft, and easy for children to carve.

Transparent Super Soft Lino Blocks 150mm × 100mm -
Hard Rubber Lino Rollers (60mm) — For even ink application and crisp prints.

Hard Rubber Lino Rollers 60mm - Small Smooth Sponge Paint Rollers — Great for young children to explore backgrounds, textures, and mark making.
- White Colour Mixing Flower Palettes — For simple, separate colour mixing.
Step-by-Step: Kid-Friendly Lino Printmaking
1. Introduce Printmaking & Safety
- Show children real print examples and the blocks used to create them.
- Set ground rules for tool safety (always carve away and work on stable surfaces).
- For younger children (under 7), consider using foam shapes or pre-cut soft lino to avoid sharp carving tools.
2. Designing the Print
- Have children sketch 1–2 simple motifs: bold geometric shapes, animals, simple words, or patterns work wonderfully.
- For easy transfer, let them draw directly on the lino with a soft pencil. With transparent lino blocks, designs can be copied from below with no fuss.
3. Carving or Building the Plate
- Introduce basic carving tools for older children (ages 8+). Soft lino is forgiving and much less effort than traditional hessian-backed lino.
- Encourage simple, repeated patterns for early success. Always demonstrate safe hand positions.
- For the youngest, create plates by pressing foam shapes onto card or gently inscribing soft lino blocks without sharp tools.
4. Inking Up
- Squeeze a small amount of water-based ink onto a mixing palette.
- Use a lino roller for a thin, even layer of ink. Roll over the design until all raised areas glisten with colour.
5. Making the Print
- Place a sheet of craft card or thick paper on top of the inked block.
- Rub the back firmly using a clean roller or spoon to get full contact (children love this reveal step!).
- Peel back slowly. Each print feels like magic—and children can experiment with colour overlays for extra interest.
Creative Lesson Ideas for Every Setting
Nature Explorer Prints
Ask children to find leaves, flowers, or shells as inspiration. Sketch, carve, and print onto recycled card for unique gift wrap or nature journals.
Personal Monogram Cards
Each child carves their initial and prints a set of greeting cards—perfect for gifts and self-expression. Encourage the use of background textures created with sponge paint rollers, adding an extra creative twist.
Layered Colour Experiments
Teach about colour mixing or rainbow effects by printing from multiple blocks on the same paper. This is a wonderful introduction to multi-step processes for older children.
Themed Printmaking Sessions
Tie printmaking projects to curriculum events: geometric patterns for maths, animal shapes for science, or cultural symbols for history weeks. For festive art, print snowflakes or pumpkins and use as decorations.
Patterned Wrapping Paper Challenge
Challenge children to create repeat patterns with their blocks. Lay end-to-end for kid-made wrapping paper.
Practical Tips for Teachers and Parents
- Set up a “clean” and “ink” area to keep things manageable.
- Use aprons and have plenty of wipes on hand—ink does wash off.
- Let prints dry fully before handling or layering more colour.
- Encourage sharing and display: a class gallery builds pride!
- Reuse soft lino blocks for future lessons by lightly cleaning under running water (avoid harsh scrubbing).
- For students with additional needs, foam or even soft clay plates offer a tactile alternative to lino.
Spotlight on Favourite Printmaking Tools
- Super Soft Grey Lino Blocks (150mm x 100mm) — For sharp, crisper lines and reusable versatility.
- Mini Sponge Dabbers — Extra fun for mark making, backgrounds, and textural discoveries.
Frequently Asked Questions
- Is soft lino really safe for children?
- Yes! Our polymer soft lino is specially designed for easy, gentle carving. Adult supervision is always required for sharp tools. For the youngest, foam or inscribed shapes let them join in risk-free.
- How young can children start with lino printmaking?
- Children ages 5–7 thrive with foam and simple mark making; detailed carving is best from age 8+ with supervision.
- Can I use tempera paint if I don’t have printmaking ink?
- For experiments and home play, thick, high-quality tempera can work but prints are less crisp than water-based block ink. Always opt for washable, safe paints with kids.
Ready to Get Creative?
There’s something uniquely joyful about seeing children produce their own prints—each one a statement of individuality and pride. If you’re looking to expand your lesson plans or home crafts, our printmaking supplies are designed to make the process safe, intuitive, and absolutely fun from start to finish.
Browse our full range of painting, printmaking, and crafting essentials or contact us for tailored advice—we’re always here to support creative journeys across the UK.