


Linocut printing offers children a hands-on way to explore art, pattern, and storytelling through bold shapes and vibrant colours. At BCreativetolearn, we’re passionate about making this printmaking technique approachable, safe, and inspiring for schools, parents, and young creators. Here’s our comprehensive guide, brimming with practical tips, product suggestions, and project ideas tailored to kids, educators, and families.
What is Linocut Printing?
Linocut printing is a relief printmaking process where designs are carved into a surface—typically soft linoleum blocks—then inked and pressed onto paper or fabric. Because it’s tactile and visual, it’s perfect for developing fine motor skills and artistic confidence in children.
If you are working with younger children or are worried about blades why not try out safeprint - polystyrene sheets you can simply mark make into with blades! A great prelude to lino cutting!
Essential Linocut Tools for Kids
- Soft Lino Blocks: Choose blocks specially developed for ease and safety, like our soft-grey or transparent lino blocks. These are less resistant than traditional linoleum, making carving smoother and safer for little hands.
- Carving Tools: Use only child-safe cutters under close adult supervision. For beginners, rollers and pre-cut shapes are great for exploring mark making without sharp tools.
- Ink or Paint: Water-soluble block printing ink or tempera is best for young users—easy to clean and bright to print.
- Rollers (Brayers): These help distribute ink evenly across your block. Hard rubber rollers deliver even, crisp results.
- Paper: Quality craft paper or card works well—experiment with textures for different effects.
Recommended Products from Our Range
-

Transparent Super Soft Lino Blocks 150mm x 100mm Perfect for tracing and safely carving simple designs with clear visual feedback.
-

Hard Rubber Lino Rollers 60mm Sturdy, manageable size for kids. Delivers even ink coverage on small blocks.
Safety Tips for Linocut Printing with Children
- Supervision is Key: Always supervise kids when using carving tools. For younger children, pre-cut shapes or foam printmaking is a wonderful alternative.
- Use Soft Blocks: Soft or transparent lino blocks require less effort to carve and are far less likely to slip or resist, reducing risk.
- Introducing Tools Gradually: Demonstrate safe hand positioning. Show how to carve away from the body and always anchor the block securely.
- Non-Toxic, Washable Inks: Choose products labeled safe for children and clean hands and surfaces promptly after printing.
- Consider Safety Gloves: Especially for beginners, cut-resistant gloves can provide extra protection.
Step-by-Step Linocut Printing Process for Kids
- Draw or Trace Your Design: Use a pencil to outline a simple image or pattern directly onto the lino block. With transparent blocks, children can place their design underneath and trace easily.
- Carve the Block: Carefully cut away the areas that will not be printed. For beginners, start with thick, bold lines; detail can come later.
- Roll Out the Ink: Use a smooth, hard roller to spread a thin layer of ink evenly onto a plate or tray.
- Ink Up Your Block: Gently roll ink onto the carved block, ensuring full but not excessive coverage.
- Print: Place your chosen paper on top of the inked block. Press firmly (with hands or a clean roller) to transfer the image.
- Reveal and Repeat: Carefully peel away the paper to reveal the print. Re-ink and print again as desired!
Fun & Educational Linocut Projects for Children
1. Storytelling Prints
Encourage children to design characters, animals, or simple scenes that tell a story. Print these onto cards or assemble a colourful, collaborative classroom mural.
2. Greeting Cards & Stationery
Hand-printed cards make wonderful gifts for family and friends—and let children see firsthand how art can be shared.
3. Pattern Exploration
Experiment with repeated patterns, textures, and colours. Try flipping or rotating your blocks to make bold geometric prints. Use transparent blocks for perfect pattern alignment.
4. Nature Prints
Take inspiration from leaves, animals, or natural textures. This project links art with science and observation skills.
5. Class Projects
Have each child design their own small block, then combine everyone’s for a stunning group print—great for team building and school displays.
Tips for Teaching Linocut in Schools & Home Settings
- Start with simple shapes and bold lines. Keep designs big and clear.
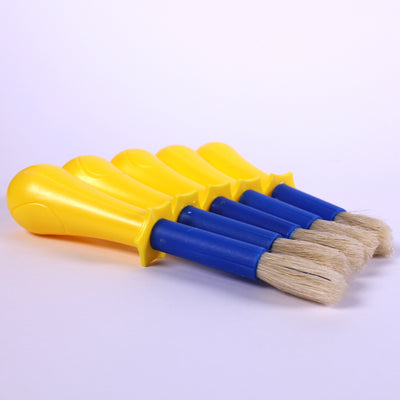
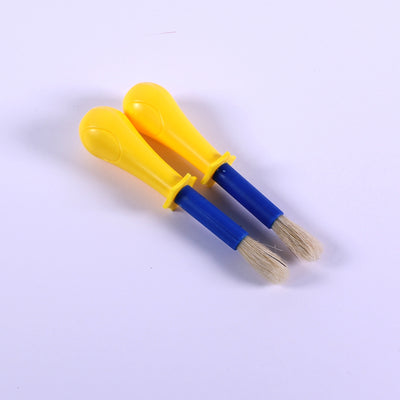
- Use foam rollers, sponge dabbers, or block printing ink for tactile, forgiving results. For example, try our foam paint brushes mix for spreading ink or paint with younger children.
- Discuss ‘positive’ and ‘negative’ space to encourage artistic thinking about what to carve and what to leave raised.
- Celebrate imperfection! Linocut has an expressive, handmade quality—wobbly lines add character and charm.
Cleaning Up—A Quick Guide
- Wash blocks and rollers soon after use with lukewarm water and mild soap.
- Use aprons and table covers to protect clothing and surfaces.
- Spare paper makes for fun extra prints—no ink goes to waste!
Why Linocut? The Educational Benefits
- Fine Motor Skills: Carving, inking, and pressing strengthen dexterity and hand–eye coordination.
- Creative Confidence: Children quickly see their own designs turned into artwork.
- Critical Thinking: Planning, reversing images, and experimenting with colour builds problem-solving skills.
- Teamwork: Collaborative projects foster communication and group pride in shared displays.
Ready to Get Started?
Linocut printing is a fantastic way to explore creativity with children—whether in the classroom or at home. If you’re keen to source the best child-friendly supplies, explore our handpicked range of art and craft materials and don’t hesitate to reach out for further tips or advice. Let’s get printing—one bold design at a time!