


Relief printing is one of the most engaging and achievable KS2 art activities—especially when you use simple, no-carve foam sheets. With the right tools and a structured approach, primary teachers can run a complete printmaking lesson in just 45 minutes. At BCreativetolearn, we work closely with educators to ensure our resources are practical, child-friendly, and tailored to UK classrooms. This guide walks you step-by-step through a fast, creative foam printing lesson, along with three project ideas that require no sharp tools.
Why Choose Foam Relief Printing for KS2?

- Safe and child-friendly: No blades or lino cutters—students draw into foam using pencils or rounded tools.
- Fast process: Draw, ink, and print. Ideal for short art lessons or carousel activities.
- Quick classroom set-up: Water-based paints, foam rollers, and simple trays mean easy clean-up.
- Engaging results: The ‘big reveal’ of each print keeps pupils excited and motivated.
What You’ll Need: Core KS2 Printmaking Materials

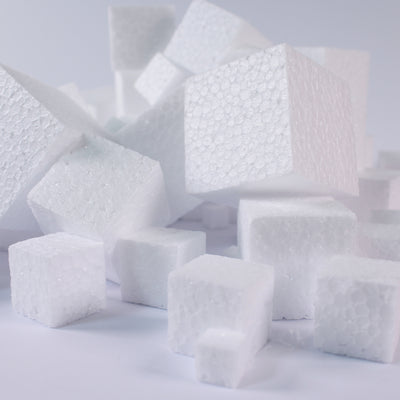
- Thick foam sheets for no-carve printing plates
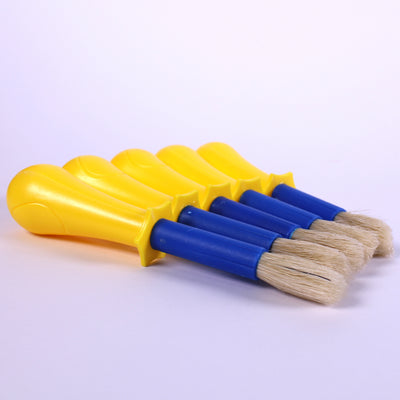
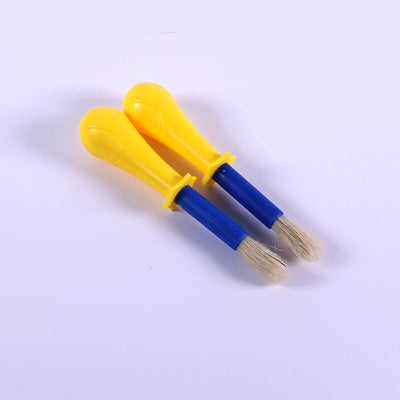
- Foam pattern rollers and flat inking rollers for smooth, even paint application
- Ready-mixed poster paint and shallow trays
- Cartridge paper or craft card for final prints
- Sugar paper for practice prints
- Pencils (blunt), aprons, table covers, and paper towels
Recommended Materials for Speedy Relief Printing:

Our Safeprint Thick Foam Sheets are ideal for KS2 printmaking—sturdy, responsive, and easy for pupils to draw into.

Use pattern rollers to introduce textures, backgrounds, and borders with very little effort.
KS2 Foam Printing: A Fully Structured 45-Minute Lesson

This structure ensures the whole class completes at least one successful print within a single lesson.
First 5 Minutes: Set-Up
- Cover desks with newspaper or sugar paper.
- Pour ready-mixed paint into shallow trays.
- Give each pupil a foam plate, roller, and scrap paper for test prints.
5–10 Minutes: Teacher Demonstration
- Draw a bold design into the foam—press deeply but do not pierce.
- Show how to load the roller with the correct amount of paint.
- Print a test image, discussing positive and negative space.
10–15 Minutes: Designing the Plate
- Students draw directly into foam with pencil or rounded tools.
- Encourage simple shapes and large areas of contrast.
15–30 Minutes: Printing Time
- Test print on sugar paper, then print onto cartridge paper.
- Encourage confident, brisk rolling—paint dries quickly on foam.
30–40 Minutes: Pattern, Texture & Extensions
- Add backgrounds with pattern rollers.
- Try colour overlays or simple repeat patterns.
40–45 Minutes: Clean-Up & Gallery Walk
- Move finished work to drying racks or string lines.
- Clean rollers and trays.
- Share prints in a quick “mini gallery.”
Three No-Carve Foam Printing Projects for Busy Classrooms
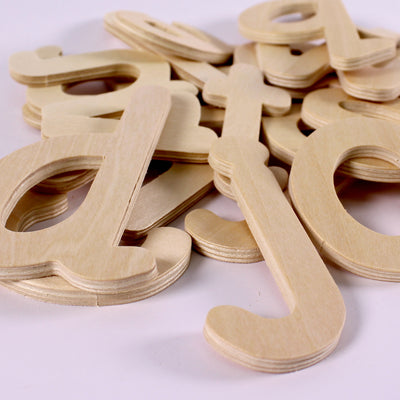
1. Name Monogram Tiles

- Focus: Literacy, typography, positive/negative space
- Approach: Pupils create bold initial letters and embellish with simple shapes.
- Outcome: Personalised book covers or display tiles.
2. Nature Repeat Patterns

- Focus: Science observation, pattern making
- Approach: Sketch leaves, shells, insects, or plants and print repeats using a flat roller.
- Outcome: Printable borders, wrapping paper, or habitat display backgrounds.
3. Story Scenes & Cityscapes

- Focus: Creative writing, setting description
- Approach: Pupils create simple skyline or narrative scenes on long foam plates.
- Outcome: Prints that become writing prompts or wall displays.
Tips for Maximising Print Quality and Speed

- Roller control: Show how to spread paint evenly—too much leads to smudging.
- Deep lines: If you can’t feel the grooves, the print won’t be clear.
- Test prints first: Build confidence before printing on premium paper.
- Drying solutions: Drying racks or lines keep prints safe during tidy-up.
Cross-Curricular Connections

- Maths: Symmetry, tessellation, shape patterns
- Science: Habitats, life cycles, classification
- PSHE / Values: Create class banners where each print represents a shared value
- History: Make faux seals, symbols, or motifs inspired by ancient civilisations
For more eco-friendly classroom crafts, visit our guide on recycled card and tissue paper projects.
Why We Recommend These Tools
- Thick foam sheets: Stable, reusable, and ideal for deep, clear impressions.
- Pattern rollers: Add instant texture and keep early finishers engaged.
- BCreativetolearn resources: Classroom-tested, durable, and chosen for UK educators.
Explore even more classroom printmaking tools, including ready-mixed paints, children’s aprons and art & craft essentials to support your next lesson.
Final Thoughts: Making Printmaking Fast, Fun & Accessible
Foam relief printing offers KS2 pupils a brilliant introduction to pattern, symmetry, and visual storytelling. With no-carve techniques and simple tools, every child can succeed, even within a short lesson. By using robust and reliable classroom materials, teachers can confidently introduce printmaking as a staple part of their art and DT curriculum.

Ready to explore more printmaking materials and creative inspiration? Visit BCreativetolearn to discover tools designed for busy UK classrooms and the next generation of young artists.